This registry key specifies the
dns server on how to respond when it receives zone files which contain erroneous resource records. The error records can be records for names out of the
dns zone and wrong
CNAME records.
Key Name: strictfileparsingType: dword(
boolean)
Default: 0
Location: HKLM\SYSTEM\
CurrentControlSet\Services\
DNS\Parameters
Functionality: Defines the behavior of the
dns server when it finds wrong resource records while loading zone data.
By Default(Reg key does exists), If the
dns server receives erroneous records, it logs the error in to
dns eventlog and continues loading.
If the reg key is one, If the server receives error records, it logs error in
dns event log viewer and stops loading.
Note: 1. In the earlier versions of Windows NT 4.0,
dns server doesn't start if it finds erroneous resource records.
2. Direct changes to registry key will be effective only after restarting the
dns server. This is due to fact that the
dns server loads this registry at the
startup.
To change the reg key value to 1, without having to restart the
dns server, do the following.
1. Assume the
dns server name is "
dnsserver".
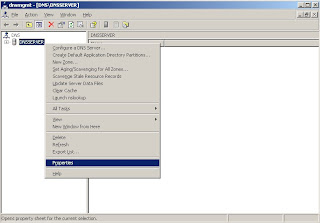
2. Open
dns manager using the command
dnsmgmt.msc3. In the console tree, right click on server node "
dnsserver" and click properties.
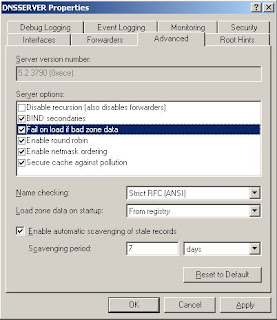
4. Go to advanced tab, Select "Fail on Load If bad zone data", click apply and click OK button.
 Relevant Posts: Set Strictfileparsing on command Prompt


